👩❤️👨😍 While his wife was away, he renovated their tiny 5 sq.m. kitchen all by himself! 🏡🔥 Her reaction when she came back was priceless. You won’t believe the transformation— which you can see in this article! ⬇️
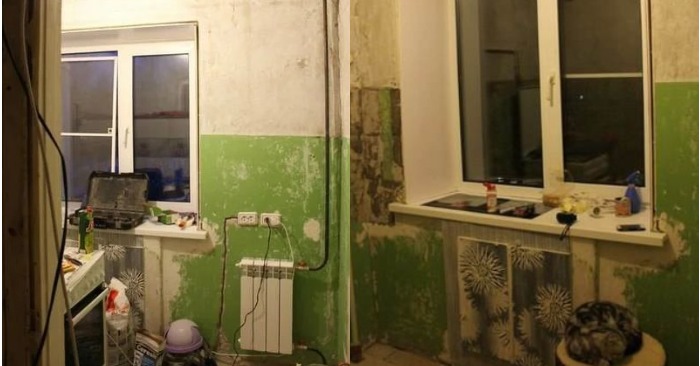
At the start, the kitchen was in pretty rough shape, so I decided to film the whole renovation process.


We cleared out everything that wasn’t needed, but kept the sink and gas stove since we still had to cook. The plastic window was already installed.

The heating pipes and radiators were replaced throughout the entire apartment right away to avoid having to redo anything later. Since I’m a plumber, I only had to pay for the radiators and faucets. I got a welder from work to help.

As you can see, the ventilation window was positioned too low. I made a hole next to the pipe instead. After installing the stretch ceilings, adjusting the vent outlet from the hood took a bit of effort. Now everything is perfectly aligned.

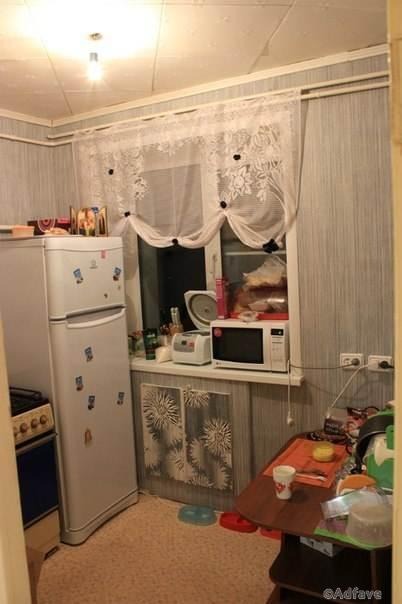
The gas meter was placed conveniently behind the refrigerator, making it easy to access.
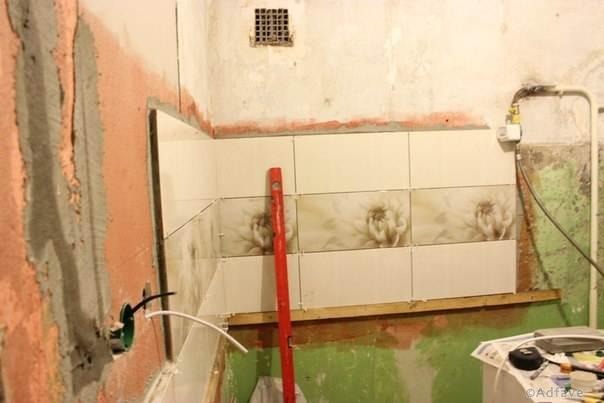
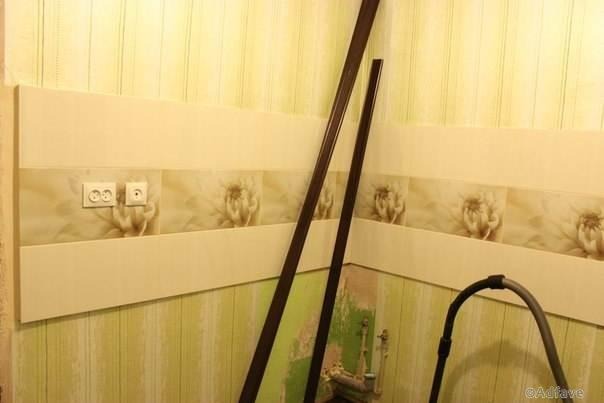
Where you now see a sheet of drywall, there was originally a door leading to the bathroom. Thankfully, the wall had already been bricked up by the previous owners. The drywall was just used to even things out. It was simpler and cheaper than using grout. The strip under the tiles is only there temporarily to help keep the level straight during installation.
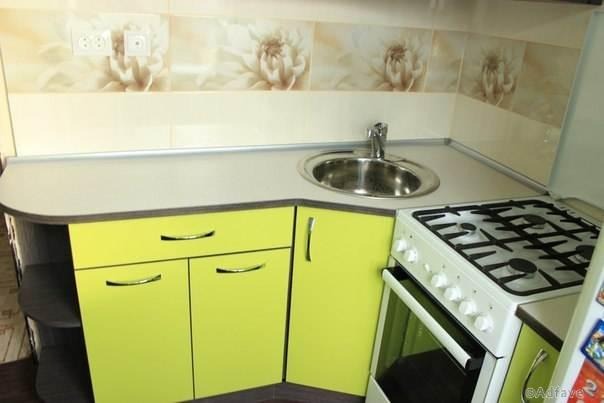
Since my girlfriend likes green, we chose that color for the kitchen. When the sun shines through the window, the green makes the room look bright and cozy.


The black covering on the pipe is kaflex, a heat insulator. It’s usually used on heating and hot water pipes to prevent heat loss. I had a leftover piece, so I put it on the gas pipe just in case something happens to the fridge—better safe than sorry. Although it’s not necessary, I’d rather play it safe.
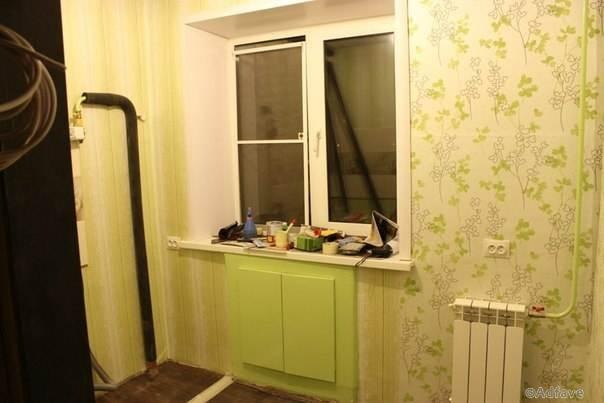
There are two valves on the radiator, so it can be shut off quickly in case of an emergency.

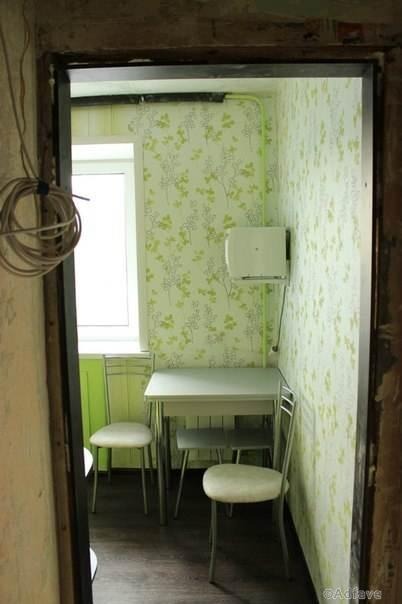
The microwave used to sit on the windowsill, but my brother advised against it since his broke down that way. So, I mounted it higher, just above head level. The main concern was to avoid bumping into it when getting up from the table. I didn’t really want to hang it there, but it seemed like the best option. Luckily, not many people sit in that spot.
The kitchen set itself cost us about $750. They measured the space for free, delivered everything, and assembled it right away.

The narrowest gap between the stove and sink is only 5 cm, but it doesn’t cause any problems at all. The countertop on the left side is 45 cm wide, and after the corner, it widens to 60 cm.

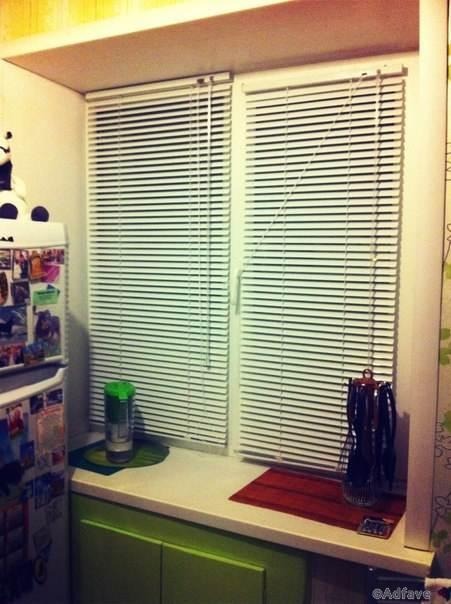
Instead of curtains, we installed blinds, which still leave the windowsill free to use.
There are zodiac signs on the glass doors of the kitchen cabinets.
In this photo, you can see how the gas meter is positioned behind the fridge. The pipe is now hidden by the kitchen cabinets.
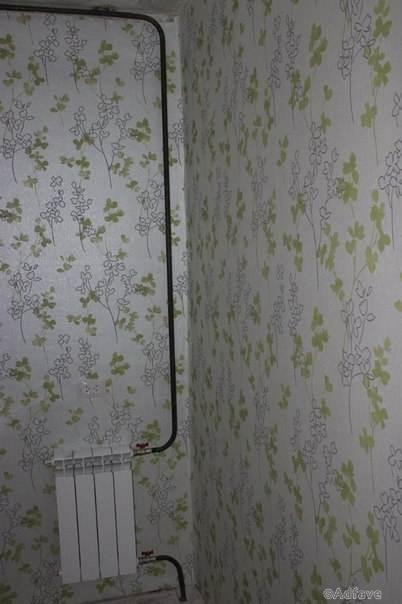
There is a heating pipe running along the ceiling’s edge. It used to be lower, but when we replaced the pipes, we raised it to make room for the stretch ceiling.


The stretch ceiling is now in place, hiding the pipe neatly behind it.


We’re planning to add a rod with hanging shelves and hooks for spatulas and other utensils here. I also installed some DIY lighting. I bought a standard roll of LED tape and a diffuser, stuck the tape inside the diffuser, and used double-sided tape to attach it.
Then I pulled the wires and connected a switch. The lights run on 220V, but they need a special power supply. I did all the work myself. You have to choose a power supply that matches the length of the tape, or else the lights won’t be bright enough.

There are also RGB multicolor LED strips that come with a remote control, but I only needed white lights. I placed the switch on the right side of the hood, between the gas meter and the hood.